


When you hear the word crepe, what kind of scene comes to mind first? For me, it has always been the image of a sweet street dessert: a thin, soft crepe generously spread with Nutella, topped with bananas, strawberries, and whipped cream, then rolled up and enjoyed on the go. I also picture the sweet atmosphere of European festivals, where crepes are often part of the fun.
But after moving to Poland, I discovered a slightly different kind of crepe—one that feels much more familiar and comforting in everyday life.
It is Naleśniki, a dish that is very familiar in Polish households.
The name may sound unfamiliar, but simply put, Naleśniki are Polish-style crepes that are a little thicker than the delicate French-style crepes many of us may be used to.
In Poland, they are commonly enjoyed for breakfast or as a snack when you’re feeling a little hungry. They can be filled with sweet jam or cream and served as dessert, but they can also be made into a satisfying meal with savory fillings such as ham, cheese, mushrooms, or spinach.
In fact, many Polish people can make Naleśniki without even looking at a recipe. They simply add eggs, milk, and flour by eye and somehow manage to make a perfect batch every time.
I, on the other hand, haven’t quite developed that Polish feel for cooking yet, so I still rely on a recipe every time. 😅
Especially because my oldest child is a little picky when it comes to food, I’ve gone through quite a few trial-and-error attempts. Eventually, our family settled on a dessert-style recipe that makes soft, flavorful Naleśniki, much like the ones you’d find at a café or dessert shop.
Naleśniki are also such a fun thing to make with children, so today I’m sharing my recipe and a few tips for making delicious Polish crepes at home without too much trouble!
Ingredients for Naleśniki
Makes about 6–8 crepes
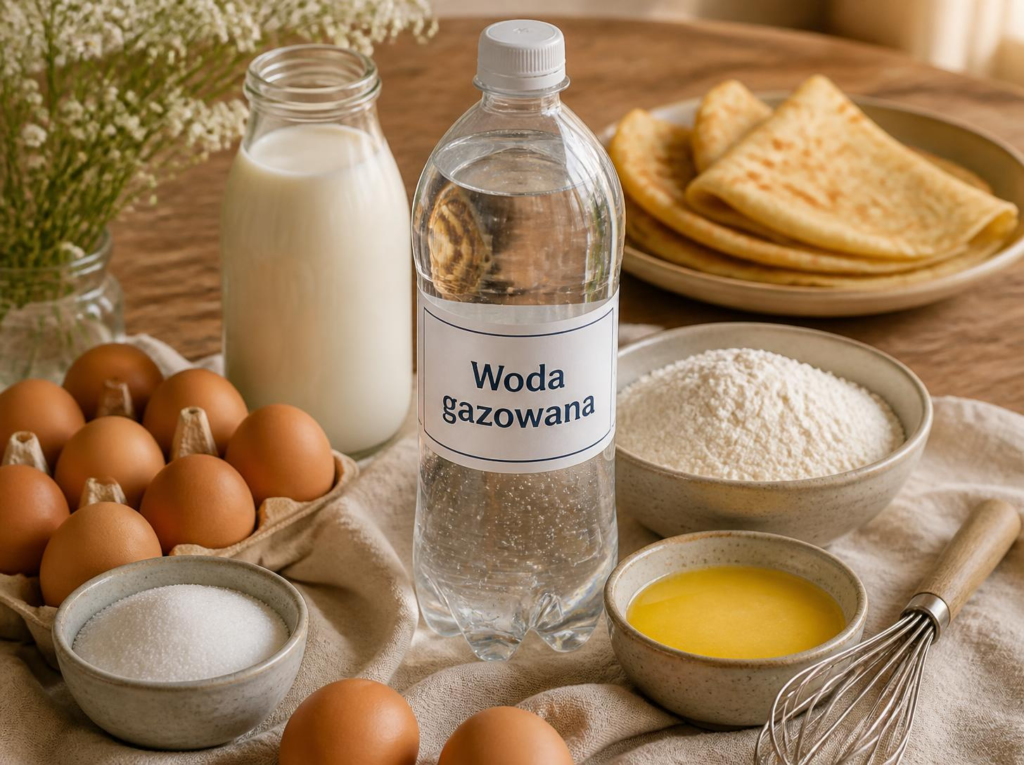
- Cake flour: 125 g (all-purpose flour can be used instead)
- Sugar: 20 g (for sweet fillings; if you’re using savory fillings such as ham and cheese, reduce the sugar to just a pinch)
- Salt: a pinch (helps enhance the sweetness)
- Eggs: 3 (preferably at room temperature)
- Milk: 300 ml (at room temperature)
- Unsalted butter, melted: 50 g (melt and let cool slightly before using)
- Vanilla extract: 1/2 teaspoon (helps reduce the eggy smell and adds extra flavor)
💡 A little tip from my Polish mother-in-law!
Try replacing about 100 ml of the 300 ml of milk with sparkling water (Woda gazowana). The tiny bubbles in the batter give the Naleśniki a slightly lighter and softer texture!
3 Tips for Making Naleśniki Successfully
1. Bring the Ingredients to Room Temperature
Take the eggs and milk out of the refrigerator at least 30 minutes before you start.
If you add melted butter to very cold ingredients, the butter can suddenly solidify, and the flour may not mix smoothly.
If you’re short on time, you can gently warm the milk until it is just lukewarm. Make sure it isn’t hot!
2. Mixing Order: Add the Dry Ingredients to the Liquids
First, add the eggs, milk, sugar, and salt to a bowl and whisk until well combined.
Then add the sifted flour and mix. Adding the flour after the liquids helps prevent lumps from forming.
Finally, add the melted butter and vanilla extract and mix until the batter is smooth.
3. Let the Batter Rest for at Least 30 Minutes
Don’t cook the batter immediately after mixing.
Instead, cover it and let it rest in the refrigerator for at least 30 minutes to 1 hour.
This gives the flour enough time to absorb the liquid, allowing the batter to settle and stabilize. The air bubbles also have time to settle, making the batter easier to spread smoothly without tearing while cooking.
Tip: If the batter seems too thick after resting, add 1–2 tablespoons of milk. The ideal consistency is quite thin—the batter should naturally flow when you tilt the pan.
Tips for Cooking Thin, Golden Naleśniki
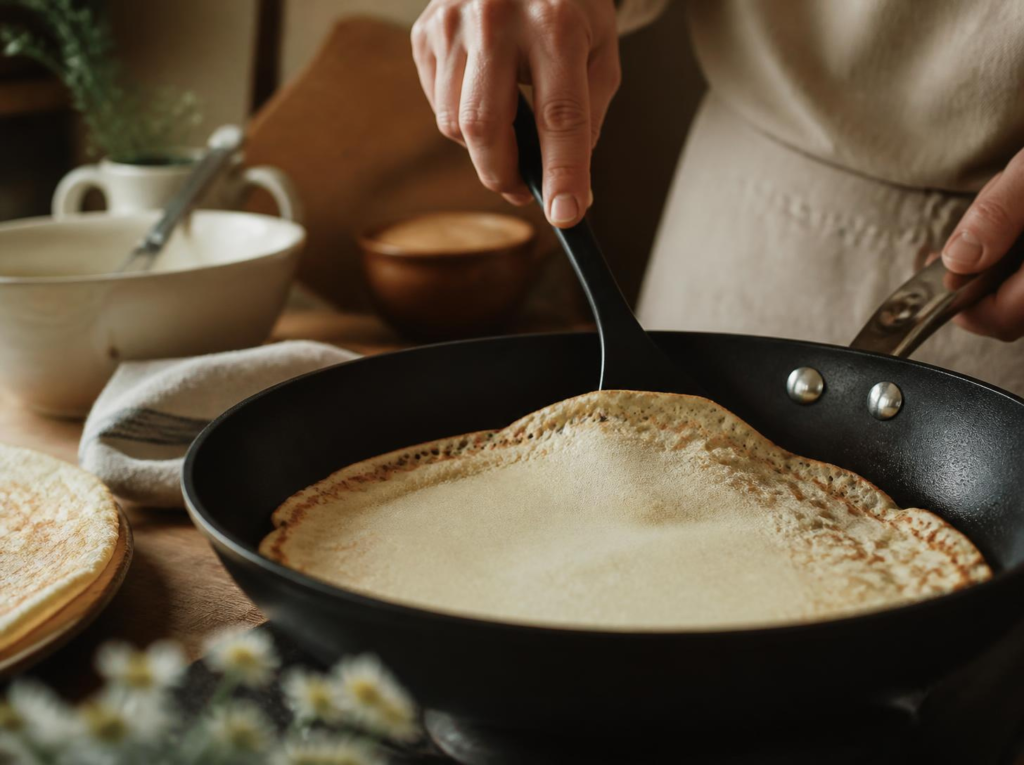
- Choose the right pan and preheat it: Use a well-coated non-stick pan and preheat it thoroughly over medium-low heat. If the pan is too hot, the batter will start cooking as soon as it touches the surface, making it difficult to spread it thinly.
- Use only a small amount of oil or butter: Add just a tiny amount of butter or cooking oil to the pan, then spread it into a very thin layer with a paper towel. If there is too much oil pooling on the bottom of the pan, the batter can slide around instead of spreading evenly.
- Think of the first crepe as a test: Don’t worry if the first one isn’t perfect! Use it to check the temperature of your pan and the consistency of your batter, then adjust as needed.
- Know when to flip: Pour a thin layer of batter into the pan and swirl the pan to spread it evenly. Once the surface is no longer wet and the edges start to lift slightly, gently slide a spatula underneath and flip it over.
How We Enjoy Naleśniki at Home
Once the Naleśniki are cooked, we fill them with whatever we’re in the mood for.
At our house, we like to mix and match different fillings such as strawberry yogurt, pistachio cream, strawberry or plum jam, cream cheese or Polish Twaróg cheese, whipped cream, and cocoa powder.
Whenever the kids smell the crepes cooking, they come running to the table and wait for them.
Even though the freshly cooked Naleśniki are too hot to eat right away, they get impatient because they want to start eating as soon as possible. Once they tell me what fillings they want, I roll the crepes up for them with a fork.
I actually learned this way of rolling Naleśniki from my Polish husband.
In Korea, I think I was used to folding or rolling crepes by hand, so I found it quite interesting to watch my husband effortlessly roll one up using just a fork.
He inserts one side of the fork into the edge of the crepe, then simply rolls the fork to wrap the crepe around itself. That’s it!
It may seem like a small thing, but the first time I saw him do it, I remember thinking, “Oh, that’s how you’re supposed to roll it?” It was surprisingly fascinating.
Now I do the same thing. I add whatever fillings the kids ask for and roll their Naleśniki up neatly with a fork.
Polish Naleśniki have a simple, warm charm that feels quite different from the dessert crepes I was familiar with in Korea.
And the best part is that you can make them with simple ingredients you probably already have at home.
So why not give these Polish-style crepes a try this weekend and enjoy a fun little snack-making session with your kids? 🙂
![[Giving Birth in Poland ①] Meeting My Firstborn Through an Emergency C-Section](https://seminalife.com/wp-content/uploads/2026/09/ChatGPT-Image-2026년-9월-13일-오후-07_44_51-1024x683.png)